
I have since added a border, in order to give Baby Blanket no.2 a more finished look...
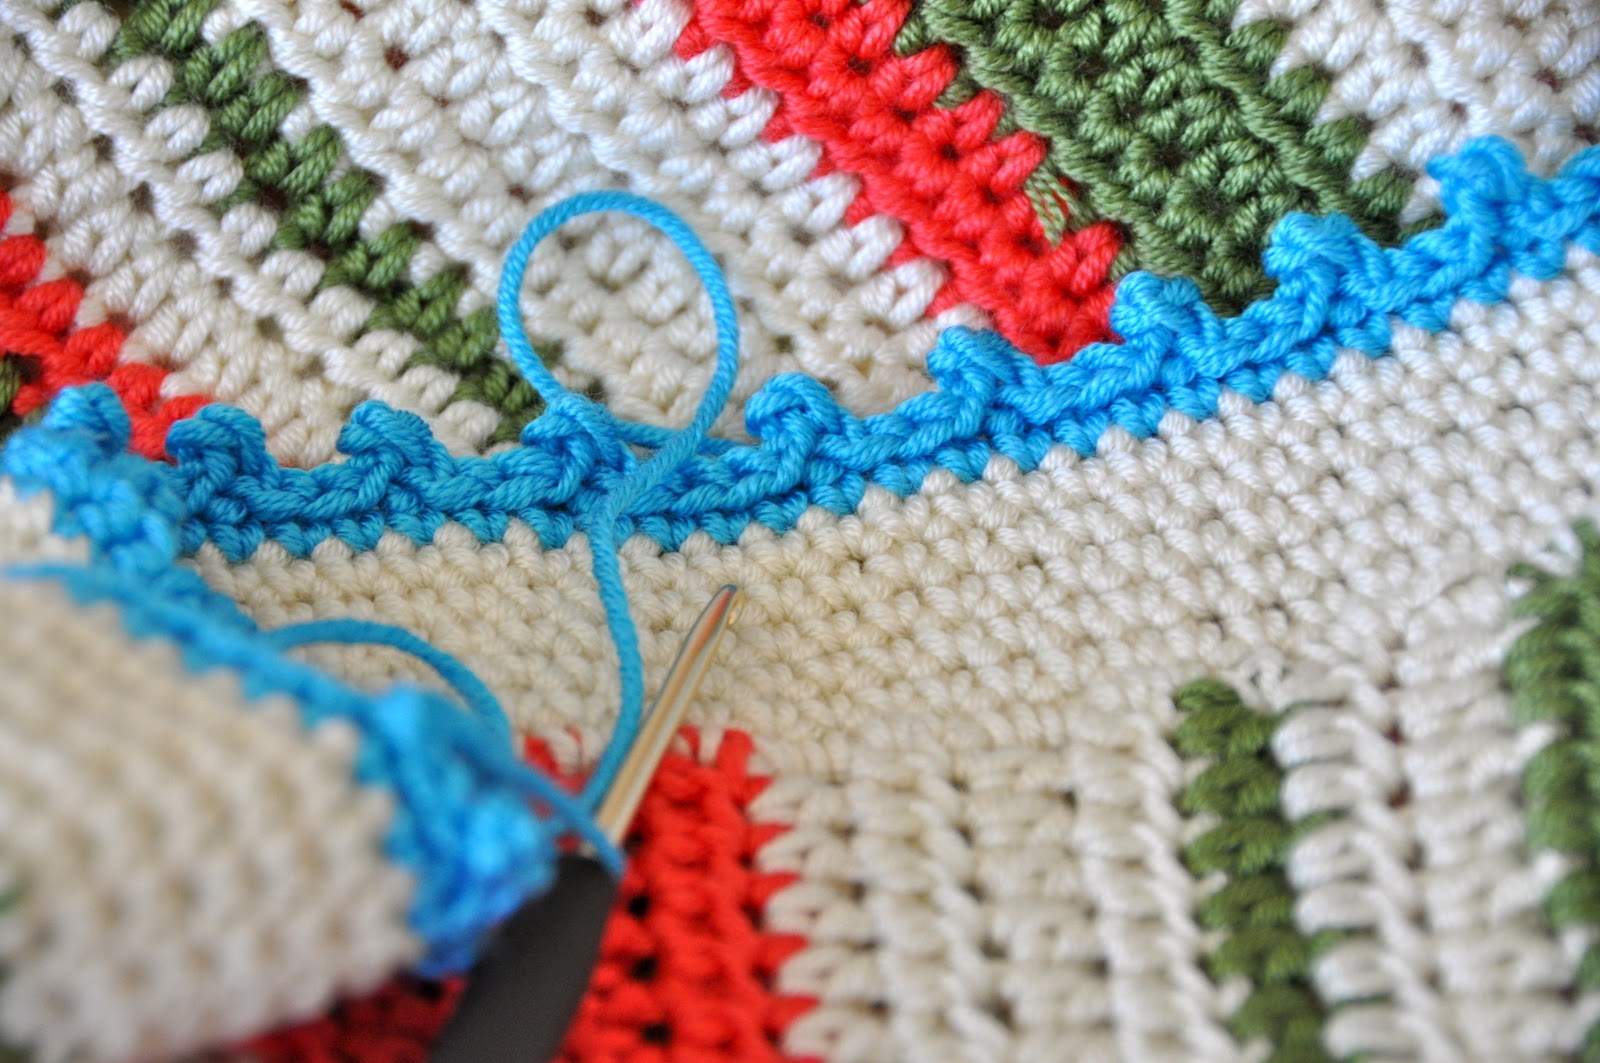
Firstly I did a thick edging in cream of Single Stitches (about 6 rows), then I changed colour (electric blue), made another round of single stitches in blue and finished it off with a
CROCHET PICOT EDGING Taught by knitty.com

PICOT EDGING
You start with one stitch on your hook.
Chain 3 stitches.


Insert the hook into the first chain you've just crocheted, and make a Slip Stitch.


Then make a Slip Stitch into the next 3 stitches on you blanket (you can space the Picot bobbles as close together or as wide apart as you wish. The more slip stitches you make the wider apart the bobbles are. I spaced them apart by 3 stitches).


Then carry on repeating, until you reach the end of the row...

For a lovely bobbly edge around blankets, cushions and more...


If it's all a little too confusing (I'm just learning how to write step by step instructions), send me a message or leave me a comment, and I'll try to do my best to explain my crafty mind a little better.
Hi, I’m Ana Santiago. I have an idea of do a crochet necklace with green pears and finish it with a crochet cord of a slim strip of picots were the picots are border left and right. I’m thinking to do a long chain and make the picots around each chain. Next bend the strip in half and do singles in between to make a single cord but do not know how to finish it. Even, I,m not sure if this unió of the chains bends function. Please let me know your opinion.
ReplyDeletePardon me, is not union, is joining . English is not my language. I’m from Puerto Rico.
ReplyDeleteThanks for all.
ReplyDelete